Every year the kids’ school does a big holiday fair, with a bake sale and a bunch of other activities including a Cake Walk. (I was not familiar with Cake Walks, before having children in this school. If you too are thinking, “The what now?,” it’s where you pay a dollar to walk around a circle of numbered papers on the floor while music plays, and when the music stops if you’re standing on the right number, you win your choice of a cake from the cake table.)
ANYWAY, I bake for this fair every year. At first I only baked for the bake sale, because I don’t bake cakes. I mean, I BAKE CAKES, like for birthdays, but I use cake mixes and I don’t bake them for fun, nor do I like trying new kinds or playing with new decorating techniques. I don’t even much like cake. But one year they were DESPERATE for cake donations so I said FINE, and I made two cakes, and I was winging it but I liked how they turned out, and then I was joyful in my heart when I saw that my cakes were among the very first chosen. (And if you are tempted to point out that this was because children were the ones choosing, and children choose cheap and interesting over delicious and quality every time, may I suggest you CAN IT WITH WALNUTS, SISTER.) (What does that expression…MEAN?)
I made a cake this year, too, though just one cake this time, and this time I took pictures. If I’d had any idea the photos were turning out so badly I would have…well, actually, I don’t have any ideas, but maybe I would have moved to some better light or something.
Start by making a cake mix in two round pans. Do you know to do that thing where you use a serrated bread knife to carefully cut off the rounded top if the cake is too rounded? Do that, if you need to.
Then make the frosting: a stick (4 ounces) of softened butter, a box (1 pound) of powdered sugar, a nice over-full teaspoon (5 ml, but I purposely slosh so it’s probably more like 10 ml) of vanilla extract, and 3 tablespoons (45 ml) of milk (the higher fat the better, but skim still works if that’s all you’ve got). Mix that up in the mixer, and add more milk tablespoon by tablespoon until it’s nice and spready. (I think typically I end up adding two more tablespoons.)
Because I made just one cake this year, the instructions from now on are for one cake. But if you are making two, it is a matter of doing everything twice, as I’m sure you smarties can figure out.
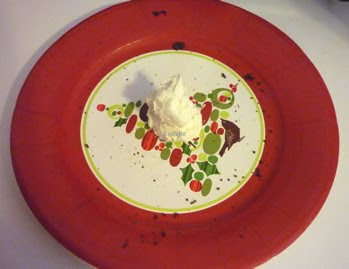
Put a glob of the frosting on a large paper plate, ideally a Christmassy one bought last year on 75% off. (My demonstration plate has crumbs on it because I put the cake on it first, then remembered I’d forgotten the frosting glob.) The frosting helps keep the cake from sliding around on and/or OFF the plate, when you’re carrying it in to the school or when the winner is carrying it away from the holiday fair. (Note on doubling: See, like if you were making two cakes, here you’d put one glob of frosting on each of TWO plates. Easy and also peasy.)
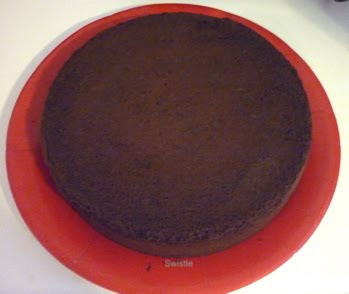
Do you also already know that thing where you put the cake upside down, so that you can work with the nice flat bottom side instead of the rounded/crumby top side? Do that.
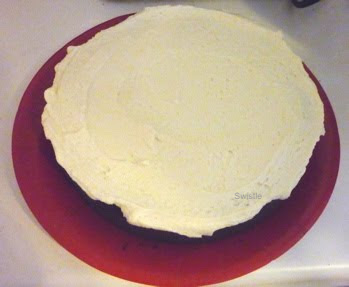
Frost the top of the cake. You could do the sides, but I prefer the look of it when it’s just the top, and also that way people can see what kind of cake it is, and also that’s easier/faster and is less likely to send me into a Perfectionism Tizzy.
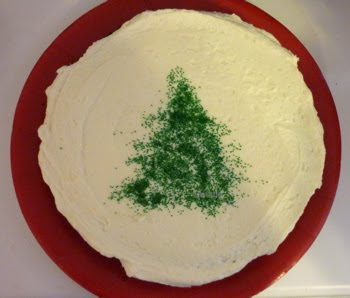
Make a rough triangle / tree shape out of green sprinkles. Take a pinch and sprinkle them on, then another pinch, then another until it looks okay; no need for anything perfect, and in fact rough looks better. Do some little flares out to the sides to make it look branchy. (I wish I’d done more out to the side on the bottom right of this triangle. It’s bugging me now. Let’s do a slapstick comedy where I try to break into the locked-up school to get my cake and fix it before the bake sale!)
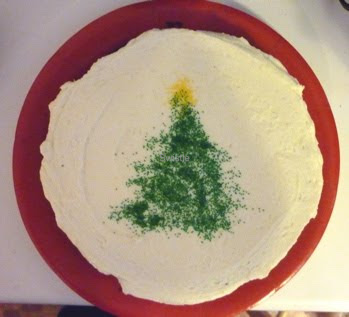
Sprinkle some yellow sprinkles on top to make the star. I wish I’d made mine higher and less overlappy with the tree-top. To be fair, I had a 3-year-old UP IN MY GRILL the whole time I was doing this.
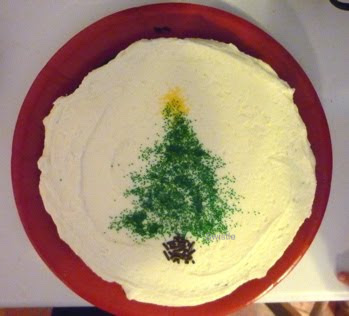
Brown/chocolate sprinkles for the trunk. If you don’t have brown sprinkles, use chocolate chips or, even better, mini chocolate chips. Or baking cocoa (I’d make a paste with a little extra frosting, to keep it from blowing around), or brown sugar, or graham cracker crumbs, or a wheat chex, or ANYTHING both BROWN and EDIBLE.
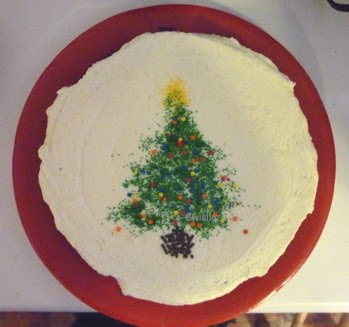
Add a layer of colored sprinkles to be the ornaments and/or lights. I had some flat round ones my mom gave me a few years ago, but anything colorful will work: the spherical jimmies, the stick-like colored thingies (like what the trunk is made of, but not brown), or maybe M&Ms (although I suspect the candy coating would get damp and mergey and fail-ish). Also please note that several “ornaments” are not even ON the tree, and yet life did not end. This is SUCH good practice for us frustrated-perfectionist types.
And now lightly pat the whole design with your fingertips, to make it stick better to the frosting.
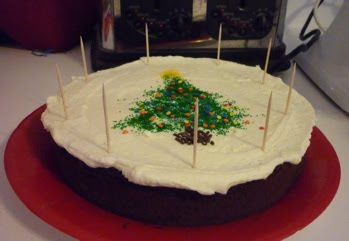
Toothpicks around the outside, to keep the plastic wrap from screwing things up.
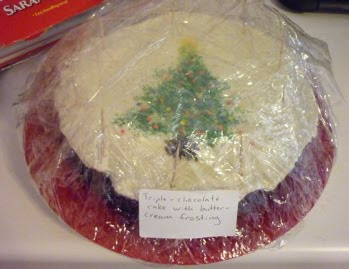
Plastic wrap, and a sticker with the type of cake/frosting written on it.
DONE. This recipe (the cake mix plus the batch of frosting) makes two single-layer cakes—or, if you like, a single-layer cake for the bake sale and a tray of 24 mini-cupcakes for YOU, for all your hard work.


